
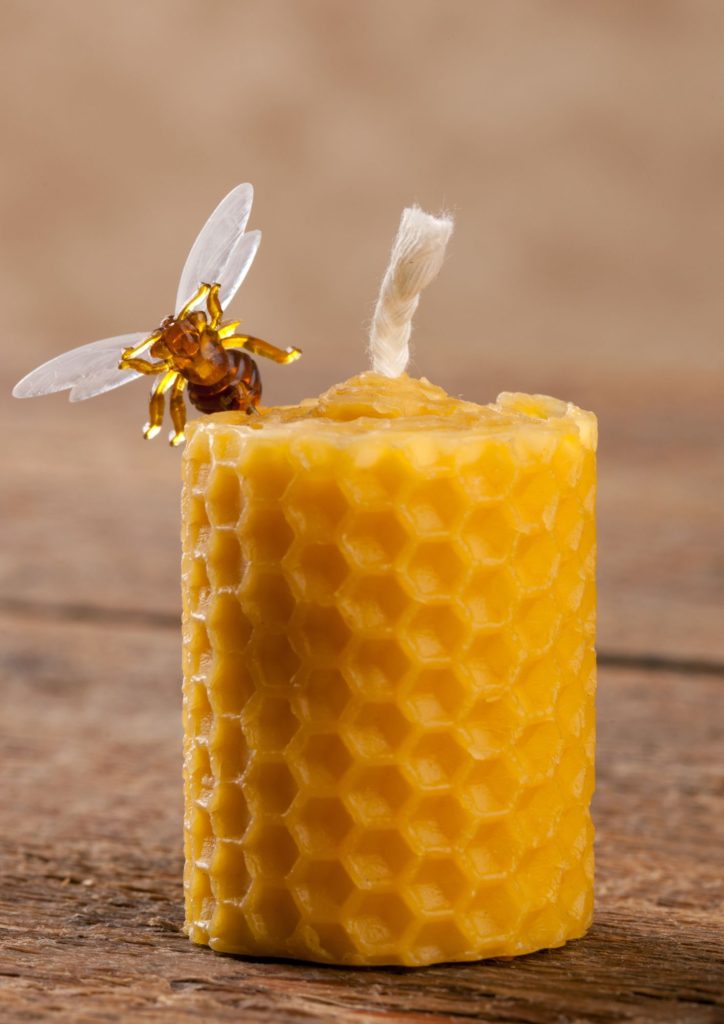
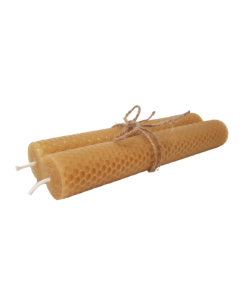
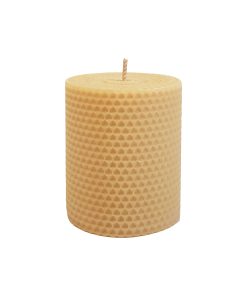
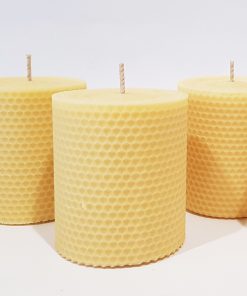
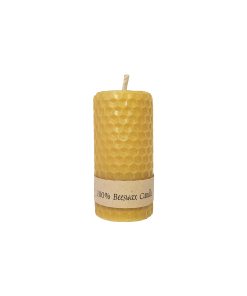
Beeswax, a natural and bee-autiful product crafted by honeybees, offers so many possibilities beyond classic candle-making. Its versatility and remarkable properties make it an brilliant ingredient for various DIY projects and innovative applications. Today we are diving into the world of beeswax and we are sharing a few DIY projects to inspire you.
The Wonders of Beeswax
A Natural Protector: Beeswax is renowned for its protective properties. Its natural composition forms a barrier against moisture, making it an excellent ingredient for skincare and preserving wooden surfaces.
Soothing and Healing: Rich in vitamin A, beeswax possesses soothing and healing properties, making it a valuable addition to balms, salves, and ointments for skin ailments.
Versatile and Sustainable: Its pliability and eco-friendly nature make beeswax an ideal choice for crafting unique DIY projects, replacing synthetic materials with a sustainable alternative. And we are all in for sustainability at Bee Specific!
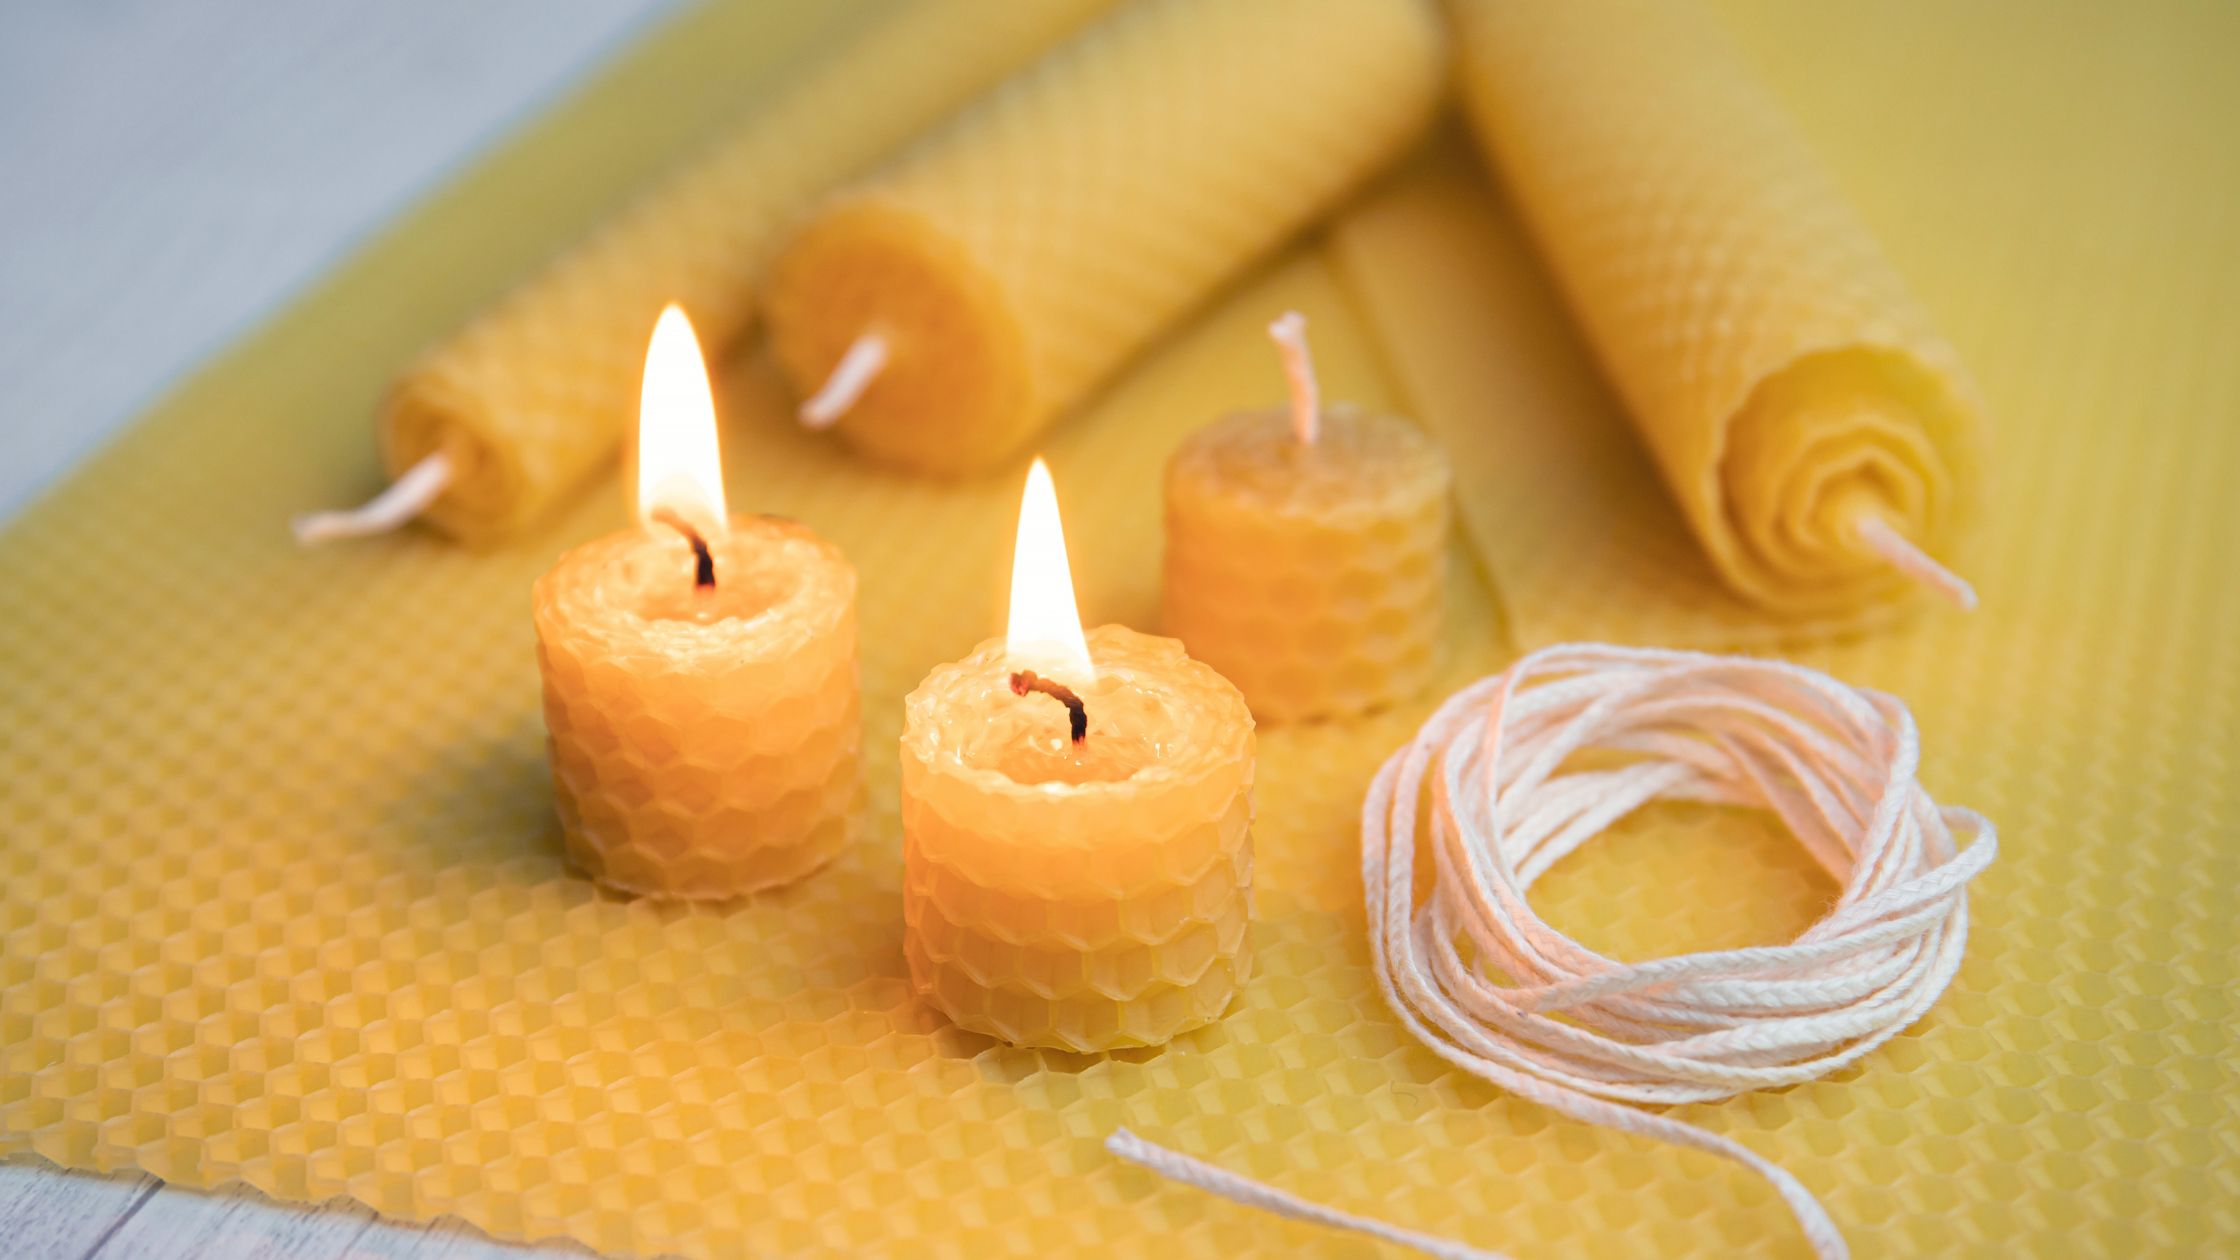
Creative Uses of Beeswax
- Natural Skincare Creations: Dive into DIY skincare by incorporating beeswax into lip balms, lotions, and healing salves. Its emollient properties lock in moisture, providing nourishment and protection.
- Food Wraps and Covers: Create reusable food wraps by infusing cotton fabric with beeswax, jojoba oil, and pine resin. These wraps offer a sustainable alternative to plastic wraps for storing food.
- Furniture and Leather Care: Craft a natural furniture polish using beeswax and olive oil to revitalize wooden surfaces and preserve their luster. Similarly, make leather conditioner bars to moisturize and protect leather goods.
Fun DIY Projects with Beeswax
Beeswax Wrapping Sheets:
Create personalized beeswax wrapping sheets by melting beeswax onto cotton fabric. Customize them with unique patterns or colors for a personalized touch.
Materials Needed:
- Beeswax pellets or grated beeswax
- Clean cotton fabric cut into desired sizes
- Baking sheet
- Paintbrush or sponge
- Parchment paper
Steps:
- Preheat the oven to 185°F (85°C).
- Place the cotton fabric pieces on a baking sheet lined with parchment paper.
- Sprinkle the beeswax pellets evenly over the fabric pieces or sprinkle grated beeswax in a thin layer across each fabric piece.
- Place the baking sheet in the preheated oven for about 5-7 minutes until the beeswax melts completely.
- Remove the baking sheet from the oven. Using a paintbrush or sponge, spread the melted beeswax evenly over the fabric, ensuring complete coverage.
- Lift the waxed fabric with tongs or a corner and hang it to air-dry for a few minutes until the beeswax solidifies and cools down.
- Trim any excess wax around the edges if needed.
- Your beeswax wrapping sheets are ready to use! Use the warmth of your hands to mold them around food items or containers for storage.
Beeswax-Based Art Supplies:
Formulate your natural crayons or modeling wax using beeswax, natural pigments, and essential oils. These non-toxic supplies are perfect for children’s creative projects.
Materials Needed:
- Beeswax pellets or grated beeswax
- Natural pigments or food-safe dyes
- Essential oils (optional)
- Small heat-safe containers or molds
- Stirring utensils
- Stove or hot plate
- Parchment paper
Steps:
- Prepare your workspace by laying down parchment paper and organizing your materials.
- In a heat-safe container or double boiler, melt the beeswax over low heat on a stove or hot plate.
- Once the beeswax is melted, add natural pigments or food-safe dyes to achieve desired colors. Stir well to incorporate the pigments evenly.
- Optionally, add a few drops of essential oils for fragrance (e.g., lavender, citrus).
- Carefully pour the colored beeswax mixture into small molds or containers.
- Let the beeswax cool and solidify completely. You can place the molds in the refrigerator to speed up the process.
- Once solid, remove the beeswax crayons or modeling wax from the molds.
- Your homemade beeswax-based art supplies are ready for creative projects!
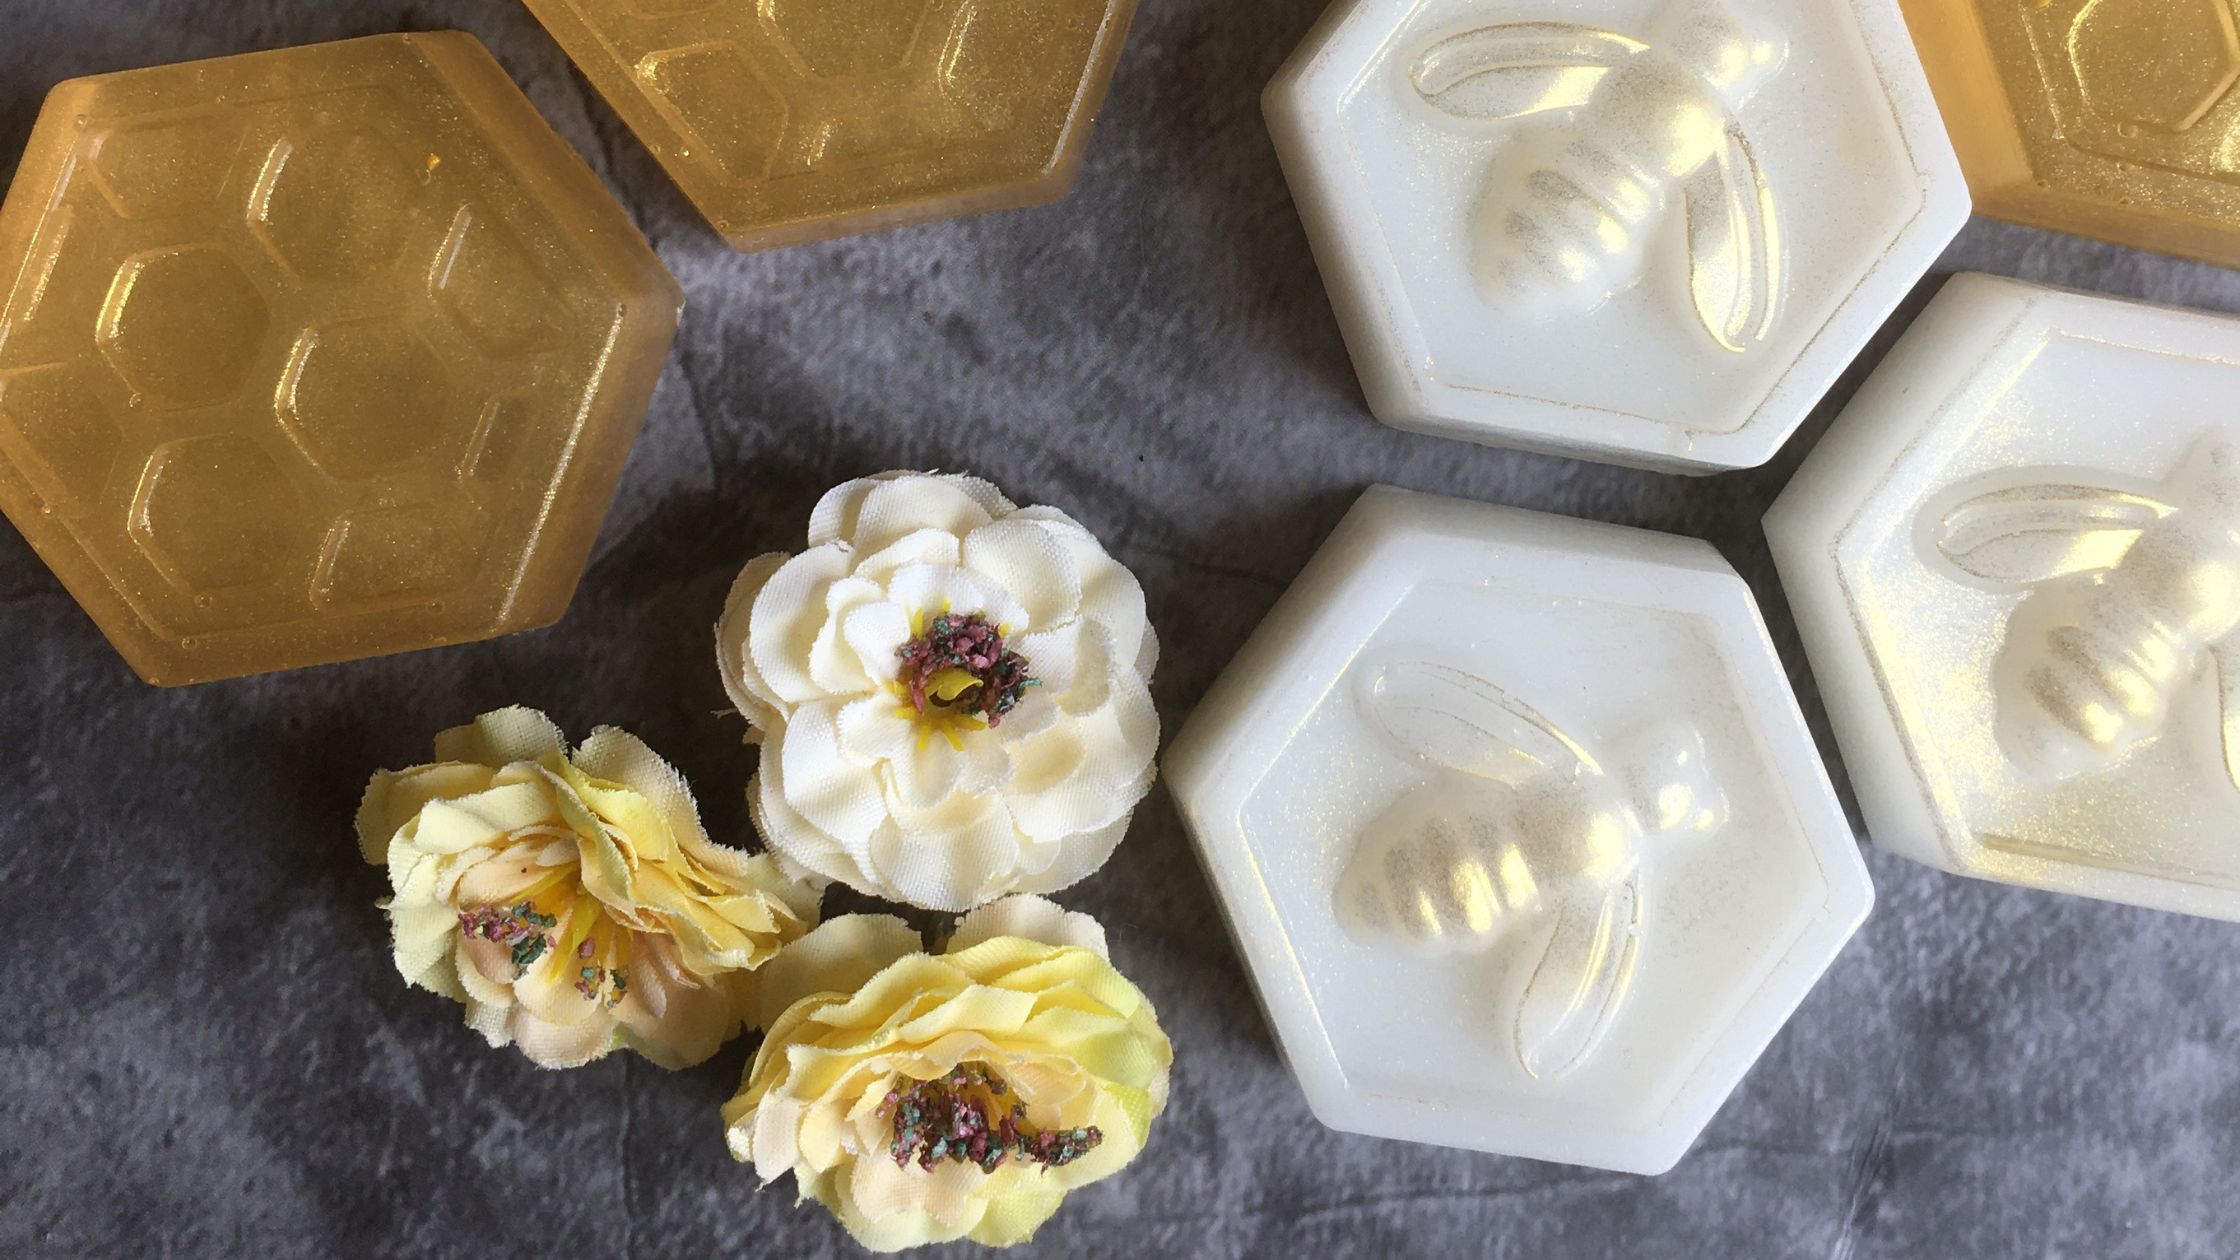
Beeswax-Based Adornments:
Craft your jewelry or ornaments by molding beeswax into intricate designs. Use molds or hand-carving techniques to shape unique pieces.
Materials Needed:
- Beeswax pellets or grated beeswax
- Silicone molds or carving tools
- Optional: Natural dyes or pigments
- Small heat-safe containers
- Stove or hot plate
- Parchment paper
Steps:
- Select silicone molds with intricate designs or prepare carving tools for hand-crafting beeswax ornaments or jewelry.
- Melt the beeswax in a heat-safe container over low heat on a stove or hot plate.
- Optionally, add natural dyes or pigments to the melted beeswax for colored ornaments.
- Carefully pour the melted beeswax into the silicone molds or use carving tools to shape the beeswax into desired designs.
- Let the beeswax cool and solidify in the molds or after carving.
- Once solid, carefully remove the beeswax-based adornments from the molds or refine the hand-carved pieces.
- Your beeswax-based jewelry or ornaments are ready to adorn and embellish!
Embracing the Versatility of Beeswax
From natural, homemade skincare to eco-friendly home solutions and creative DIY endeavors, beeswax unveils a world of possibilities. Its natural properties not only cater to various practical needs but also ignite creativity, offering a sustainable and wholesome approach to crafting and daily living.
Embrace the versatility of beeswax in your DIY projects, and discover the joy of creating sustainable, natural, and personalized treasures.
Reach out to our buzzing team and let’s create a buzz together. Don’t bee shy—send a message:
Feeling social? Make sure to follow us on Bee-stagram and Facebook where we will be serving generously sweet tips, recipes, projects, and product updates. Make sure to tag us with your creations for a chance to get featured on our page! See you there!
BEE-INSPIRED ARTS AND CRAFTS. D.I.Y PROJETCS FOR KIDS AND ADULTS
Welcome, crafty bees and aspiring artisans! At Bee Specific, we’re here to transform your world into a hive of creativity. Get ready to dive into... Read More
BEE-FRIENDLY GARDENING: HOW TO CREATE A POLLINATOR-FRIENDLY GARDEN
Gardens are not just bee-autiful havens for us and our plants but thriving ecosystems that support vital pollinators like bees. Designing a bee-friendly garden not... Read More
BEE SUSTAINABLE: ECO-FRIENDLY PRACTICES INSPIRED BY BEES
Bees, with their harmonious and sustainable ways of life, provide us with valuable lessons in fostering eco-conscious habits. Let’s explore together, what we can learn... Read More